In my
last post I showed how to create
NodeJs application with
MongoDb. In this post I will show how to add
AngularJS functionality for the project.
First you should add
Angular JS using
bower. With that add
AngularRouter and
Angular Resource js files.
However, single page applications have one major problem. They are not indexable by search engines. To solve this issue, major search engines offer developers to mark their applications as single page applications. To mark your application routes as single-page application routes, you will need to use a routing scheme called
Hashbangs.
Hashbangs are implemented by adding an exclamation mark right after the hash sign, so an students URL would be
http://localhost:3000/#!/students. Therefore, configure your main module for hashbang URL.
Add
students folder into public folder. In that folder, create
config,
controllers,
services an
views folders.
AngularJS services are
singleton entities that are usually used to share information between different entities of the same
AngularJS application.
AngularJS prebundled services and custom services.
$http,
$resource,
$location,
$q and
$rootScope are commonly use services.
ngResource module provides easy way to communicate with a RESTful data source. In the above I have added angular resource module. And also I have added
ngResource as dependency for our main module.
Then create a module for
students folder.
Add
student.client.service.js file into
students/services folder. Content of that file should be like below.
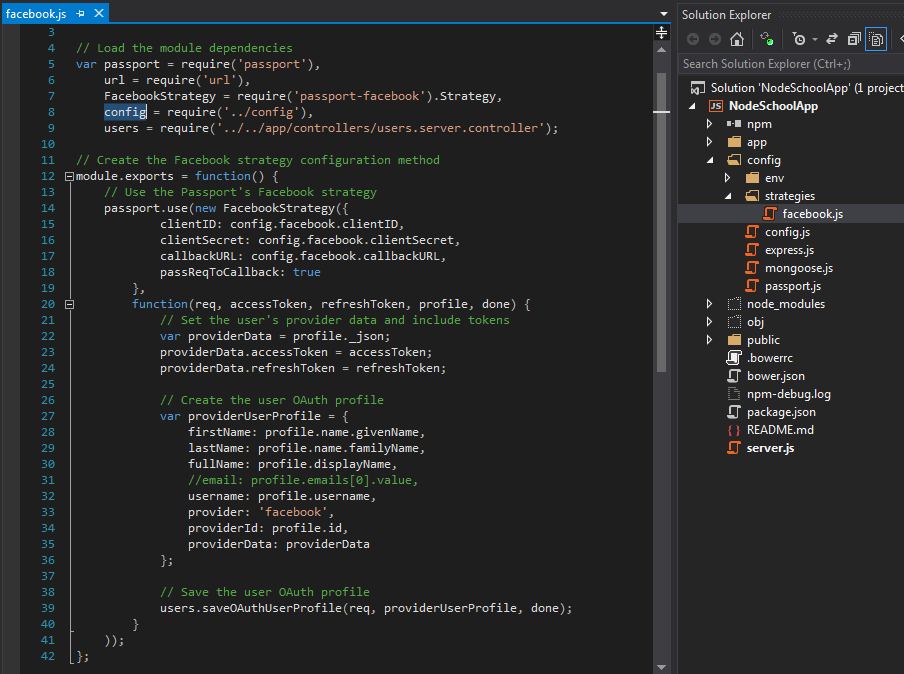
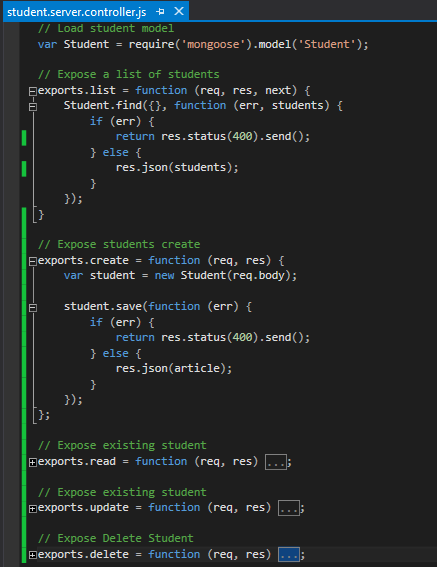
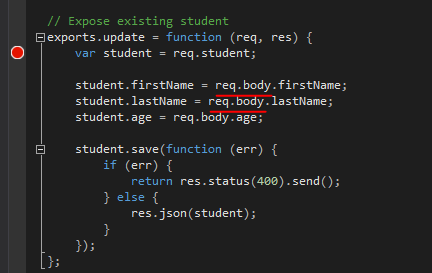
Now we have to change
student.server.controller.js file for the CRUD operations.
Then we have to change
student.server.route.js file.
Then add
student module as a dependency to
main module.
Next we need to create angular js module controller for students.
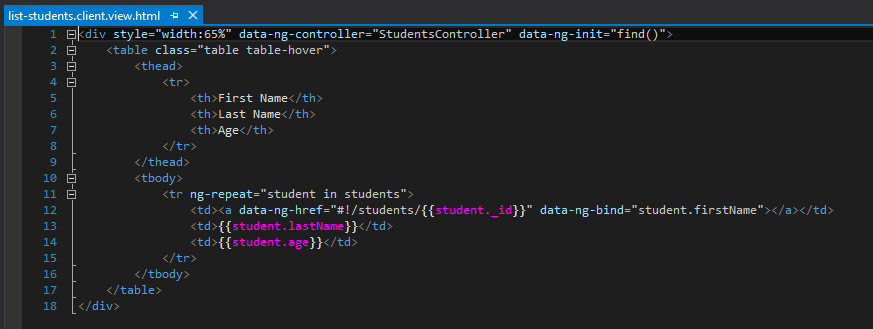
Next we need to implement angular js views.
Next we have to wire angular routes for the above.
Next we need to add
index.server.controller.js and it's router file like below.
Then change
index.ejs file content like below.
Run the application via
Visual Studio. Then you will be able to see student list like below.
Then click on First Name. You will see student view.
Then click edit link. You will see edit view. Then update name and save changes. This will give
500 error.
Reason for that is
req.body undefined in
student.server.controller.js.
You need to add
body-parser and
method-override npm packages.
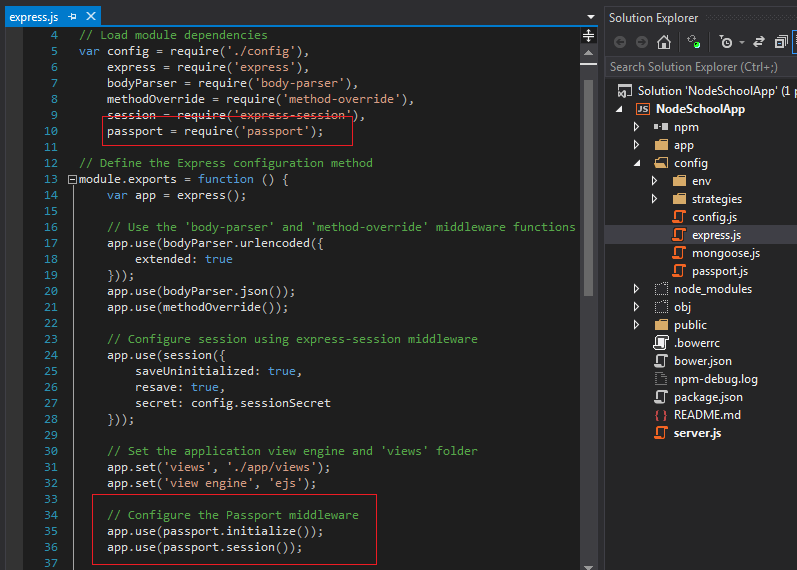
The
body-parser module provides several middleware to handle request data, and the
method-override module provides
DELETE and
PUT HTTP verbs legacy support. To use these modules, you will need to modify your
config/express.js file.
Then save function will work fine.