In my last
post, I explained about session management in
NodeJS application.
Passport middleware helps to authenticate requests send to
NodeJS application via
Express. Passport middleware supports for both
local and
OAuth authentication providers, such as
Facebook,
Google and
Twitter.
This post will continue with the implementations done in my last
post. First you need to install p
assport and
passport-facebook middlewares.
Then you need to change your
User model.
Four new fields were added to
UserSchema.
salt field will contains a random string which will use to hash the user password.
provider field will contains the authentication strategy used to register an user.
providerId will contains the user identity for the authentication strategy. In
providerData, you will save user object which you will retrieve from
OAuth provider.
Next add following methods into
user.server.model.js file.
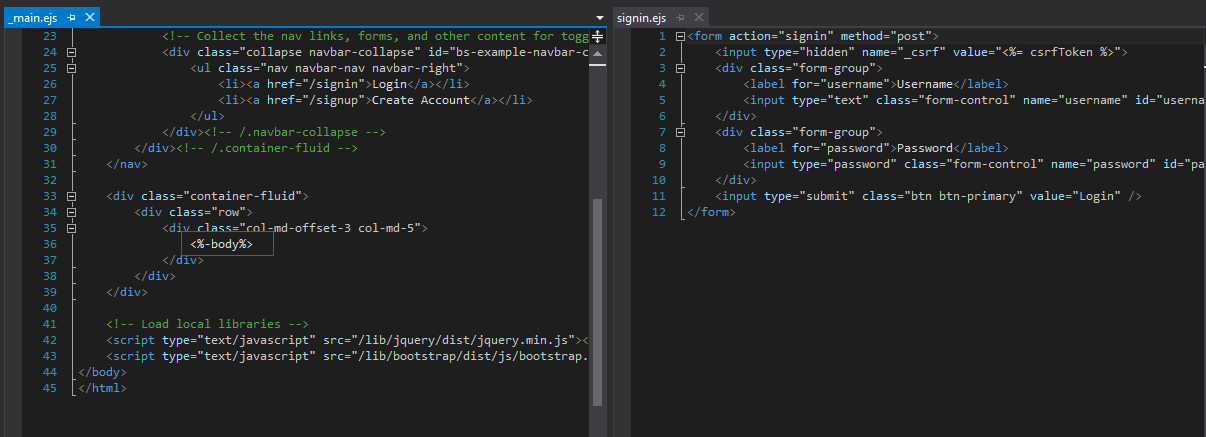
Add
signin.ejs and
signup.ejs files.
Add
SignIn and
SignUp actions in
user.server.controller.js file.
Configure routing for user in
user.server.route.js file.
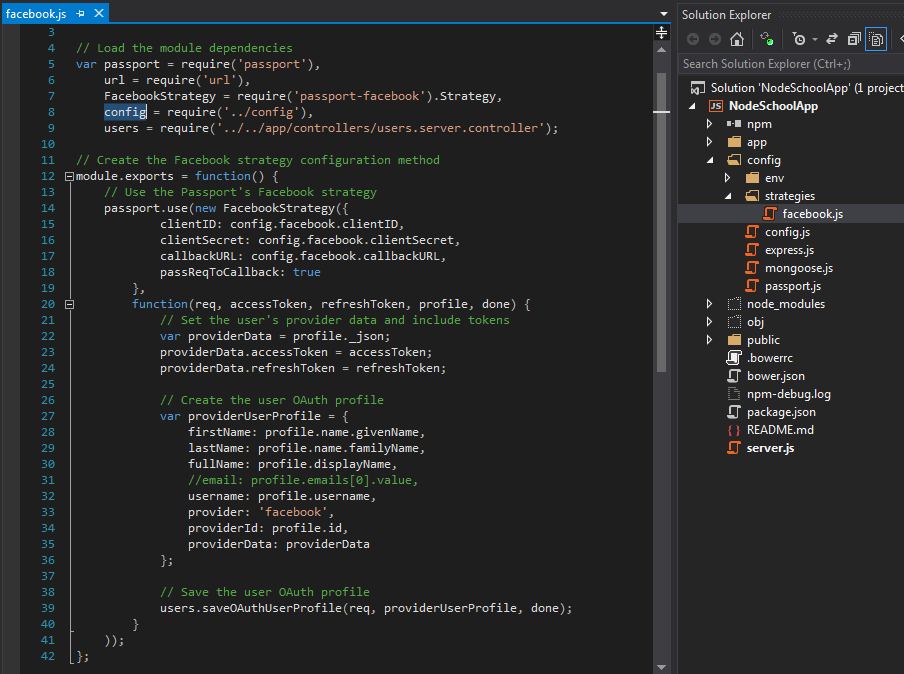
Now you have to configure
passport-facebook middleware for the application. Add Facebook strategy configurations in to
facebook.js file like below.
Add
passport.js file like below.
Add passport instance for the application by modifying
server.js file.
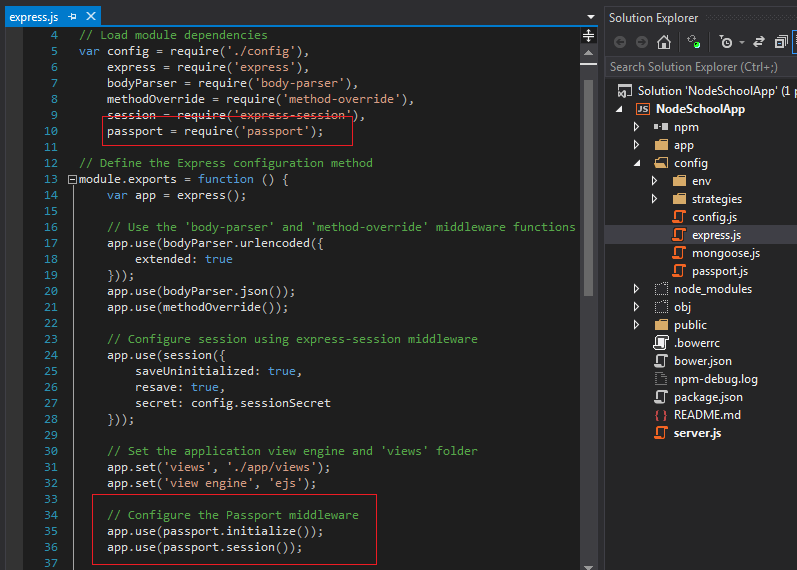
Configure
express application for
passport middleware.
For all above configurations you can read
passport-facebook documentation. In the signin page , you will see "
Sign in with Facebook" link. Using that you will be able to access the application and data will be saved into
user table.