Thursday, September 26, 2013

Web API Attribute Routing

ASP.Net Web API Attribute Routing is a new feature released with Web API 2. In this post I'll use the project which I developed in my previous post.
In the project uninstall nuget packages for ASP.Net web API. Now re-install RC release of Web API version 5.
In previous post I had to comment some methods in CarApiController and ModelApiConotroller.
Reason for that is both traditional and verb-based routing cannot be used in the same ApiController. But that issue is fixed with Web API 2.
First, in WebApiConfig class, map Http Attribute Routes like below.
Change code in CarApiController and ModelApiConotroller like below. As you can see, in HttpGetAttribute I have passed routing path for the action.
Now change code appropriately in Client project. If you browse by 'http://localhost:52414/api/ModelApi/43213BE0-F9CF-4266-9B04-6B4645BEF41E', this will call GetModel action.
But if you browse by 'http://localhost:52414/api/ModelApi/43213BE0-F9CF-4266-9B04-6B4645BEF41E/Make', this will call to GetModels action.
Using attribute routing we can have versioning of Web API and much more things.

You can find the source code of this in GitHub.

Consume Web API using JQuery

In this post I'll show how to consume an ASP.Net Web API using JQuery.

First create two ASP.Net MVC projects. Named them as Client and WebAPI. The WebAPI project contains all the API code hat we are going to access via Client. At the end WebAPI content will be published in to IIS and we will access API via Client.
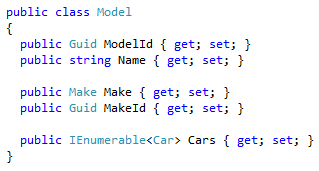
Add Make, Model and Car classes.
Then add MakeApiController, ModelApiController and CarApiController like below.
At the end, Client page will be look like below.
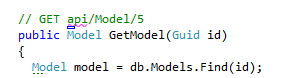
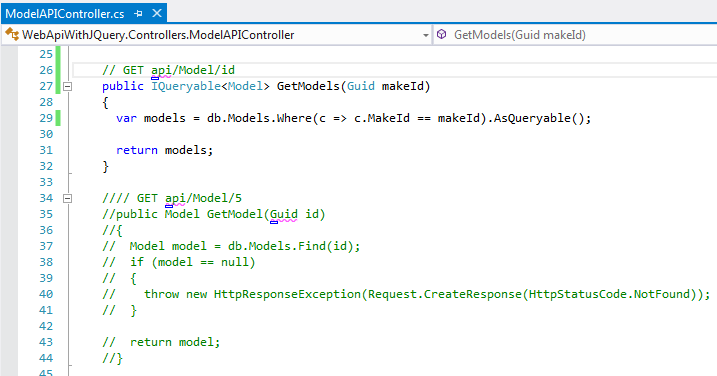
Depending on selections combo boxes will be filled out. So in ModelApiConotroller, we need a API method like 'GetModelsByMakeId'. Also in CarApiController, we need a API method like 'GetCarByModelId'. But the issue is both traditional and verb-based routing cannot be used in the same ApiController. Already there is a Get Verb method in both controllers. So change the code in both controllers like below. Commented block is existing Get Verb method.
Now open IIS and create web application like below. I have used port 86. Publish your WebAPI project to that web application path.
Now we have to develop our Client project. First of all, download bootstrap and paste the files in to relevant locations.
Create a controller called CarController and open Index.chtml of that. Edit the code like below.
Create Demo.js file in Scripts folder and add relevant code. In the below image you can see how to call Web API resource using JQuery.
Now run the Client and browser for Car page.

You can find the source code of this in GitHub.

Web API Test Client

In this post I'm using a nuget package called "Simple Test Client For ASP.Net Web API". Using that we can easily test our web API resources.

First create a project using ASP.Net MVC Web API template. Add a class called Student.
Add StudentApiController like below.
Using nuget add WebApiTestClient package.
Open Api.chtml file which located in below location.
Edit file and add content highlighted in below image.
Run the web application and browse to help page. Click any of the API link. In bottom right corner you'll see the button called "Test API". When you clicked it using the opened dialog you can test your APIs very easily.
You can find the source code of this in GitHub.