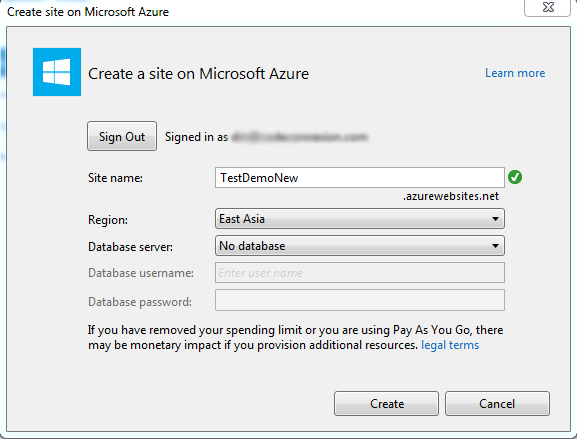
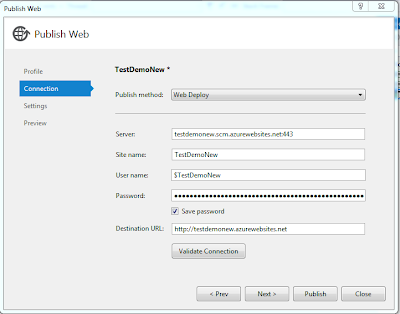
First right-click the WebClient web application project and select publish.
In the opened dialog box you have to select Microsoft Azure Web Site as the publish target.
Sign into a an Azure subscription.
I haven't create a web site for this demo in Azure. So create a new web site.
Publish the web site.
When you select the configurations, select configuration as debug. Because we will be going to debug this application using VS 2013. So that select will enable the remote debugging.
This web site will be published to the Azure and you'll be able to see that in Azure portal. WebJobs will be run from the App_Data folder of an existing WebSite. So the contents of the WebJobs will be deployed to the App_Data folder.
Log in to Windows Azure using VS 2013. Because for this demo we try to utilize most of the tools provided by Visual Studio. After that you'll be able to see the Web Site which we created recently and the WebJobs which we have deployed with that WebSite.
Azure WebJobs are using Azure Storage Queues for passing messages through queues and storing and retrieving files from Azure Blob containers, And also statistics about how and when WebJobs were executed details are stored in Azure Storage. For these things, Azure WebSite must have storage account connection strings. So using Visual Studio Server Explorer, create a new Azure Storage.
In the properties of newly created storage, you can find the connection string.
Right-click and open the Azure Web Site settings panel.
In there create new connection strings named AzureWebJobsStorage and AzureWebJobsDashboard. Paste the value of the Azure Storage connection string for the above values.


Please fill out the WebJobs survey here:
ReplyDeletehttps://microsoft.qualtrics.com/SE/?SID=SV_8iRbWLZVMIhjqTj